
Ever wanted to try tweening with live2d, but you open it up and go- WHAT is this WHY are there so many buttons?? Yeah same. If you don’t already know what live2d is, its an animation app usually used to rig Vtuber models by making separate parts move. If you layer it right it can even look a bit 3d!
Do I have to pay?: Live2d gives you a free one month premium after that you have to buy premium, but you can still use it for free just with limited options.
Can I get it on mobile?: Nope, has to be computer sorry 🙁
Where do I download?: https://www.live2d.com/en/cubism/download/editor/
Most of the live2d tutorials you find on Youtube are for Vtubers, and I don’t need all of that since I don’t want to make a Vtuber, so this tutorial be for people similar to me, who just want to make a normal animation. I will just going over the very basics and process of making such animations to help other people get started. If I miss anything, make an error, or you just have a question, feel free to let me know.

DISCLAIMER: I’m not an expert of any sort. In fact I’m too lazy/don’t have time to even attempt something as complex as a full V-tuber model and I don’t even know how to do physics in this app. Again this tutorial is just going to be rather simple.
Some of the GIFS are also sped up sorry 💔 no I don’t actually move that fast.
Contents:
Step 1: Separating Layers
Step 2: Export as PSD file
Step 3: Import PSD file
Step 4: Layer Clipping (optional)
Step 5: Mesh Generation
Rigging/Deformers (Modeling)
Animation
Export
Additional
Step 1: Separating Layers
In your normal drawing app, separate whatever parts you want to move. If you want the animation to look better, then it will require for work and more layers. It would be better to name your layers after whatever part they are for to make it easy on yourself when it comes to live2d (I’m both forgetful and kind of lazy so excuse my poor layer names, its a bad habit). If you have an expression change on different layers (ex. One layer for eye open, one for eye closed) make sure BOTH versions are at 100% opacity, you can lower opacity/hide it in live2d when you get there.
Step 2: Export as a PSD file
This is required to work in live2d, If your on procreate then tap Actions > Share > PSD. Save your image to files, and because I draw on iPad- I have to transfer it to my computer, so I just send it to myself over discord or google drive. Whatever works for you is fine.
Step 3: Import PSD file

Drop your file directly on to your work space. When asked to pick a scale I think it depends on how laggy your computer is, if your computer is fine- then full scale is good.
Step 4: Layer Clipping (opt)

If you have any layers that need to be clipped, you can go ahead and do that now. To clip it you take the ID of the bottom art mesh (the one that you clip it too) and input it in the box where it says “Clipping ID” on the other art mesh (the one that you are clipping).
Step 5: Mesh Generation
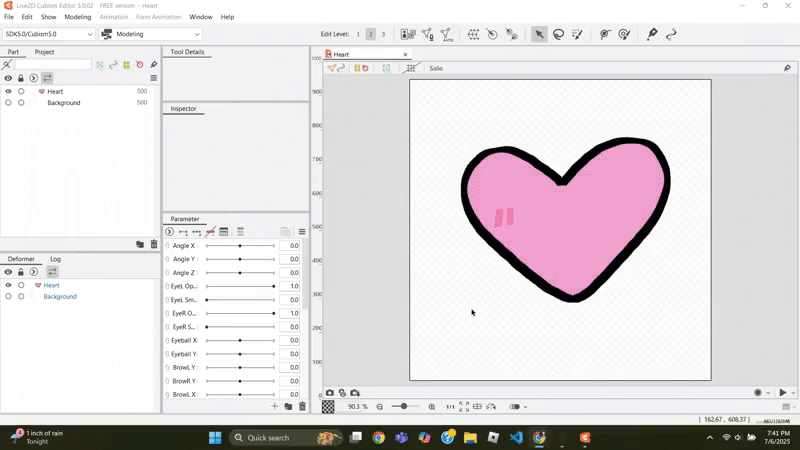
First, to be able to move our parts around we need a mesh. Fortunately there is an automatic generation option- it might not be perfect but you can also edit it or just make a custom mesh (but that isn’t needed usually for simple stuff, so I won’t go over it). Make sure you make a mesh for every part. In order to do that press Ctrl + A to select all layers. Next, click the auto button and select an option, standard is my go-to, but you can also use heavy if needed (just note too much may cause Live2d to lag).
Step 6: Parameter removal (Optional)

Remove the unnecessary parameters and make your own for less clutter. I’m not great at explaining but you can follow the gif :’).
Rigging/Deformers
Now you can finally start rigging/deformers! I will go over some of the features/tools next. This part will not be step by step because people may be tweening different things and in different ways so instead I will only be going over the tools.
Before you move any deformer around, make sure you actually have a key form selected. Otherwise you just changed the default instead of the parameter.
There are 3 options: 2 keys, 3 keys, remove keys, or custom. (In that same order on the bar under the text “Parameter”)

Warp Deformer

Select the parts you want to make a warp of then click the warp deformer button. The warp deformer can be used for many things like swaying motions and turning. There are three modes too as you can see on the top where it says Edit Level 1 2 3. (Note* if you make a warp deformer for all the layers I did here in the image above, do it first. Otherwise there will be deformer hierarchy problems. It is still fixable, but it is easier to just do it first)
Rotation Deformer

The name is pretty explanatory, you can rotate parts with it. This can be used for limb/joints and it keeps the size of the part unlike with warp deformer (If you try to rotate with warp deformer the size of the object will not stay the same). To move the rotation deformer to align with your part, hold CTRL and drag it or rotate it.
Path Deformer

This is used to make a path to deform an object, can be used for things like hair strands, tails, or similar. I apologize, the gif isn’t a very good example! Once you lay your path you have to change it back to mouse.
Deformer Brush

Hold B + drag with mouse to change size of the brush. This is just a more precise way to deform the vertices of an art mesh around.
Repeat
Do as many as you want until you are satisfied with the movements, you can also come back to this after opening the animation editor to tweak details so don’t worry about it!. I also like to save my file just incase of crashes (File > Save as or CTRL + shift + S). Some people add parameters for each part but personally I don’t do that since I like to do some of my movements in the same parameter, but it depends on what you prefer.
Animation
Switch mode to animation

To switch to animation mood you have to click the modeling dropdown and select “Animation”. Then you drag and save the file on to the box where it says to, after that go to “Scene1” and change the size in the Inspector box.
Timeline

This is the space you will work on your keyframes in. Make sure the duration of the object is long enough by dragging the blue tab at the end of the blue bar, and you can also change the spacing to your preference!
Keyframe

If you don’t know what a keyframe is already, its a point of transition of change. Tweening is a type of animation where it fills in the motion in between to make it smooth as compared to frame by frame. In this part, feel free to play around a lot and edit parameters in the modeling tab too (If you don’t know how to switch between modeling and animation, there should be tabs under where it says edit level where you can just click between them). To loop an animation make sure to have the end and start keyframes be the exact same (you can copy and paste keyframes with CTRL C CTRL V. To move a keyframe just drag the point.
Export

To export when done, go File > Export image/video > GIF animation. Hooray! Now your done!
Additional
These are some random features from off the top of my head that I remember which might be helpful? I don’t know but ill leave them here if I think of more.
Adding/Replacing Art Meshes

If you wanted to fix a layer or just add a new part like a background you can do this. This can also be used for YCHs, just make sure the layers have the same name.
Mirroring Movements

if you have a symmetrical motion, you don’t have to do both sides individually. You can mirror the motion (x-axis or y-axis) with a few buttons.
For now that is it!! Hopefully this wasn’t too messy and again if you have questions or tips for me as well feel free to reach out.

Leave a Reply